
For painting, I left off all the armor plates to allow for easier airbrushing. For the main body and major metal areas, after priming black, I airbrushed on Vallejo's Black Metal. The armor plates were primed grey, and then the red sections were painted with Minitaire Angelic Blood and Nebula Red. For the white sections, including the wings on the shoulder pads, which were done with the Wings stencil from Fallout Hobbies, I started with Vallejo Model Air Burnt Umber, followed by Sand (Ivory) and a white.

Once the airbrushing was done, I went in and touched up the metal borders with the Black Metal again. I also went in on the red and white and did a recess wash with Agrax Earthshade. The metal sections got a wash of Nuln oil. This was followed by a boltgun metal drybrush for all the metal surfaces. I then dove into weathering, using a sponging technique to apply black, white, and silver stippling to the armor plates.


With painting done, I attached all the plates This is where I got a little overeager and forgot to attach the magnet before attaching the top carapace. The last step was some quick airbrush effects for heat scoring on the guns and exhaust on the chainsword and back.
With the Knight himself done, it was onto the basing. I wanted to add a little interest, but not make it distracting. I added a piece of cork, which I topped with a piece of plasticard that had a striped texture. I added a cross piece of thin plasticard to break it up and add a bit more interest as well. I then took a piece of a plastic tube and snapped off a couple pieces, bending one and squishing the end so it would fit under the Knight's foot.

To this I added a few textures of sand and gravel. Once the glue dried I topped it with a mix of medium, Dryad Bark, and glue. A note on this - I use medium to thin rather than water because I've noticed water tends to mess with the adhesion of the white glue, which can lead to the sand flaking off.

On the sand, I then drybrushed on Tallarn Sand and Screaming Skull. The cork "concrete" was painted with Skavenblight Dinge and Dawnstone, and the metal got the Black metal and Boltgun Metal. This was followed by a few layers of rust using my Vallejo Rust and Chipping Effects set. The base was finished off with some Secret Weapon pigments to break up the earth color, adding some reds and greys, and adding grey particularly around the "concrete."

I also dabbed on some of the pigments onto the Knight's feet. Finally, I magnetized the feet onto the base. I will probably glue it as well, but the magnets will help hold it securely.

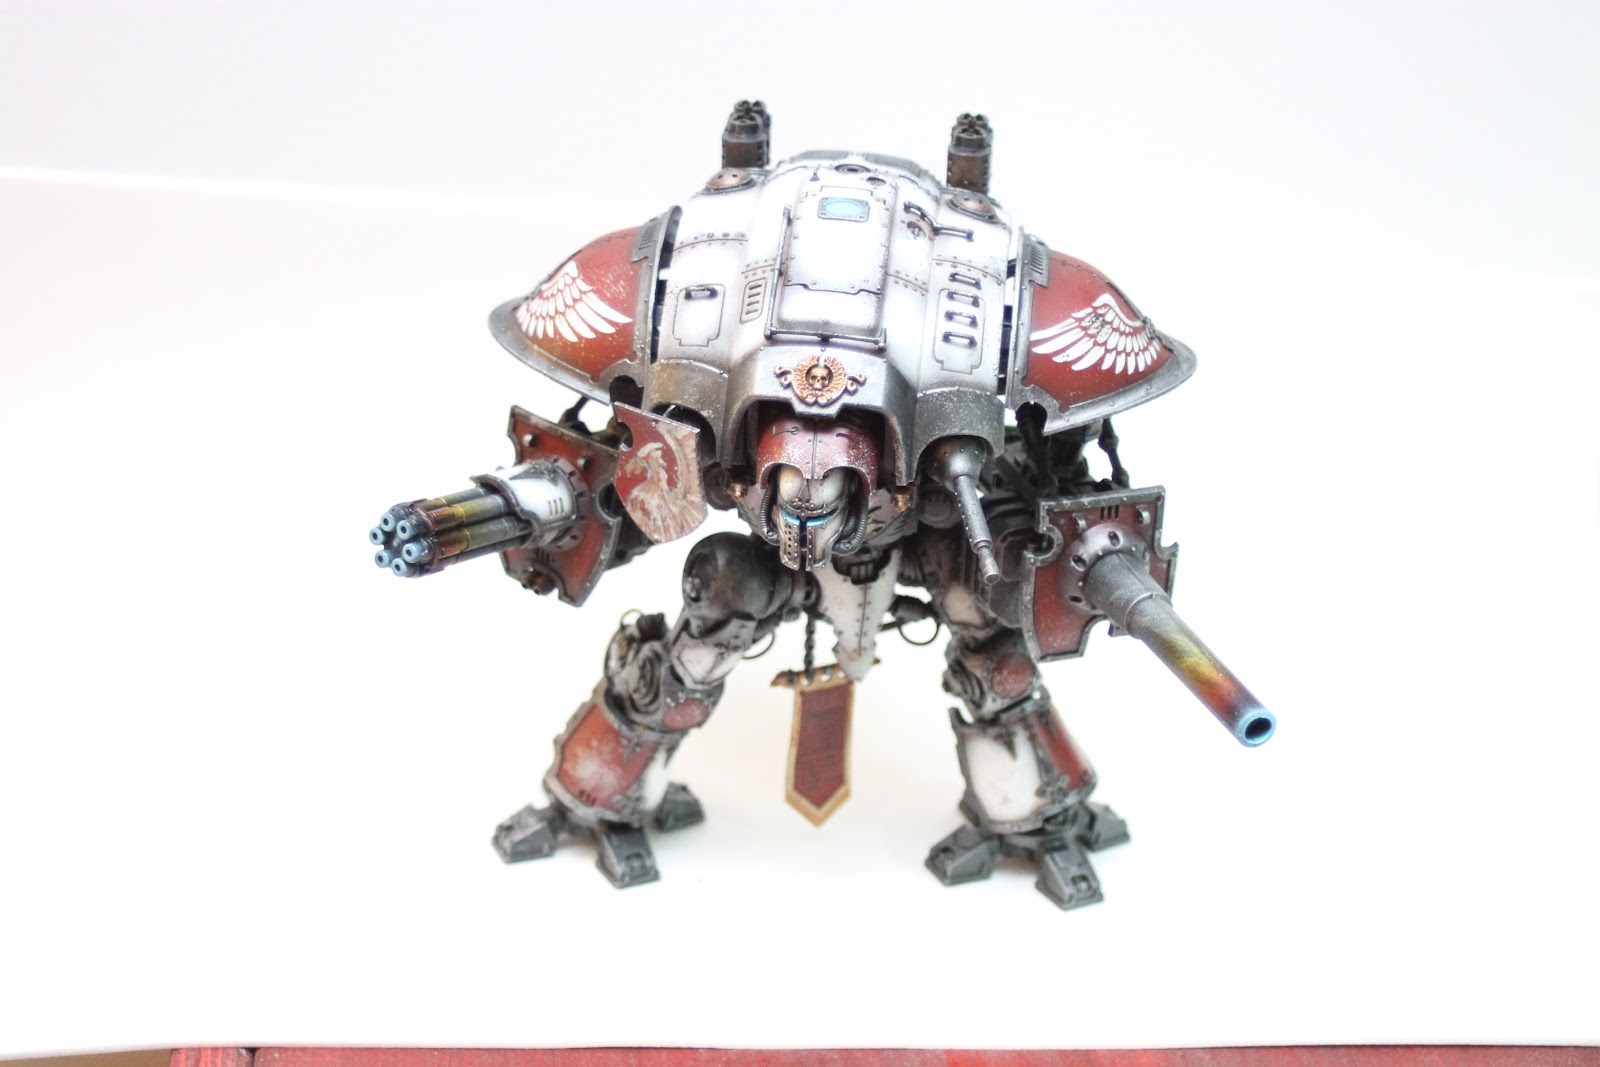
With that, the first Knight of House Dracon is complete:


I posed him with the Gauntlet mostly because I think it looks cool.

Thanks for checking it out and let me know what you think!
No comments:
Post a Comment